Connect from Microsoft Excel
On this page
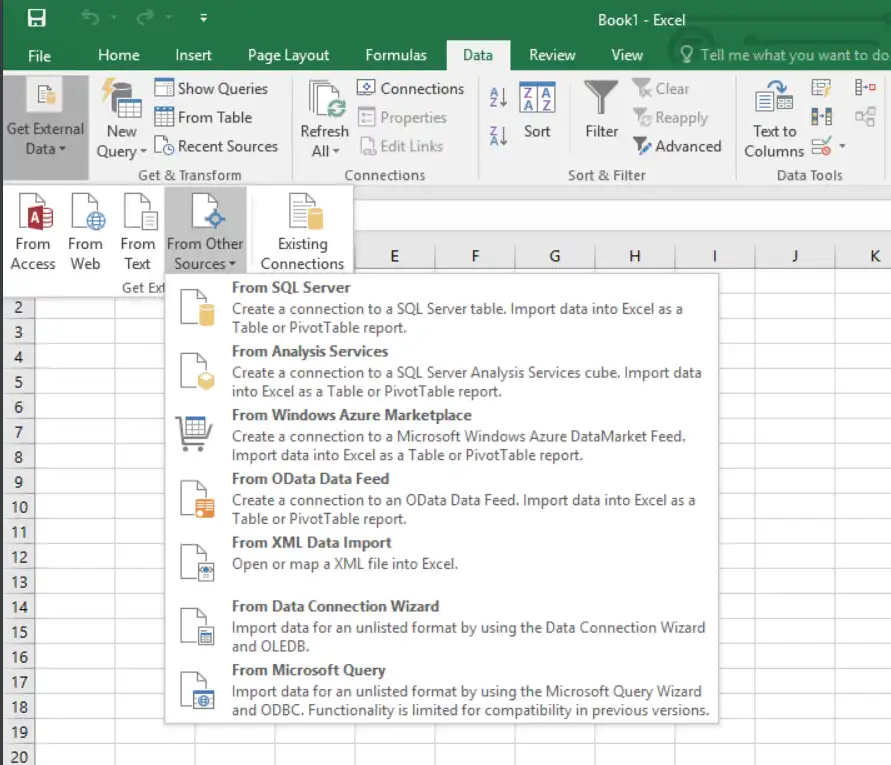
You can import data from a MongoDB collection into a Microsoft Excel spreadsheet with the MongoDB Connector for BI and an ODBC data connection.
Prerequisites
To connect Excel to the MongoDB Connector for BI, you must first create a system Data Source Name (DSN).
Connecting Excel to the MongoDB Connector for BI requires the following:
64-bit version of Excel. Run the following command to determine whether the 64-bit or 32-bit version of Excel is installed:
file -N /Applications/Microsoft\ Excel.app/Contents/MacOS/Microsoft\ Excel The following table lists the possible outputs of the command above and their respective meanings:
Return ValueMeaningMach-O 64-bit executable x86_64 64-bit binaryMach-O executable i386 32-bit binaryMach-O 64-bit executable x86_64 Mach-O executable i386 FAT binary (compatible with both 32-bit and 64-bit processes)For information on upgrading to the 64-bit version of Excel, see Microsoft Support.
Install iODBC.
Note
Both the 64-bit and 32-bit versions of iODBC are included with the installer. If you use iODBC to test your DSN, you must use the 64-bit version of the application.
iODBC is not recommended for creating or modifying your Data Source Name (DSN). To create or modify your DSN, use the ODBC Manager application that is included with the MongoDB BI Connector ODBC Driver.
Create a Data Source Name (DSN).
Important
Excel requires the following settings in your Data Source Name (DSN) configuration:
The
DATABASEkeyword must be specified in your DSN. If theDATABASEkeyword is not set, Excel will not recognize any collections.TLS/SSL certificates must be stored in the
/Library/ODBC/directory. All TLS/SSL keywords in the DSN must point to the certificates in this directory.
Procedure
Before beginning this tutorial, make sure you have a running
mongosqld instance.


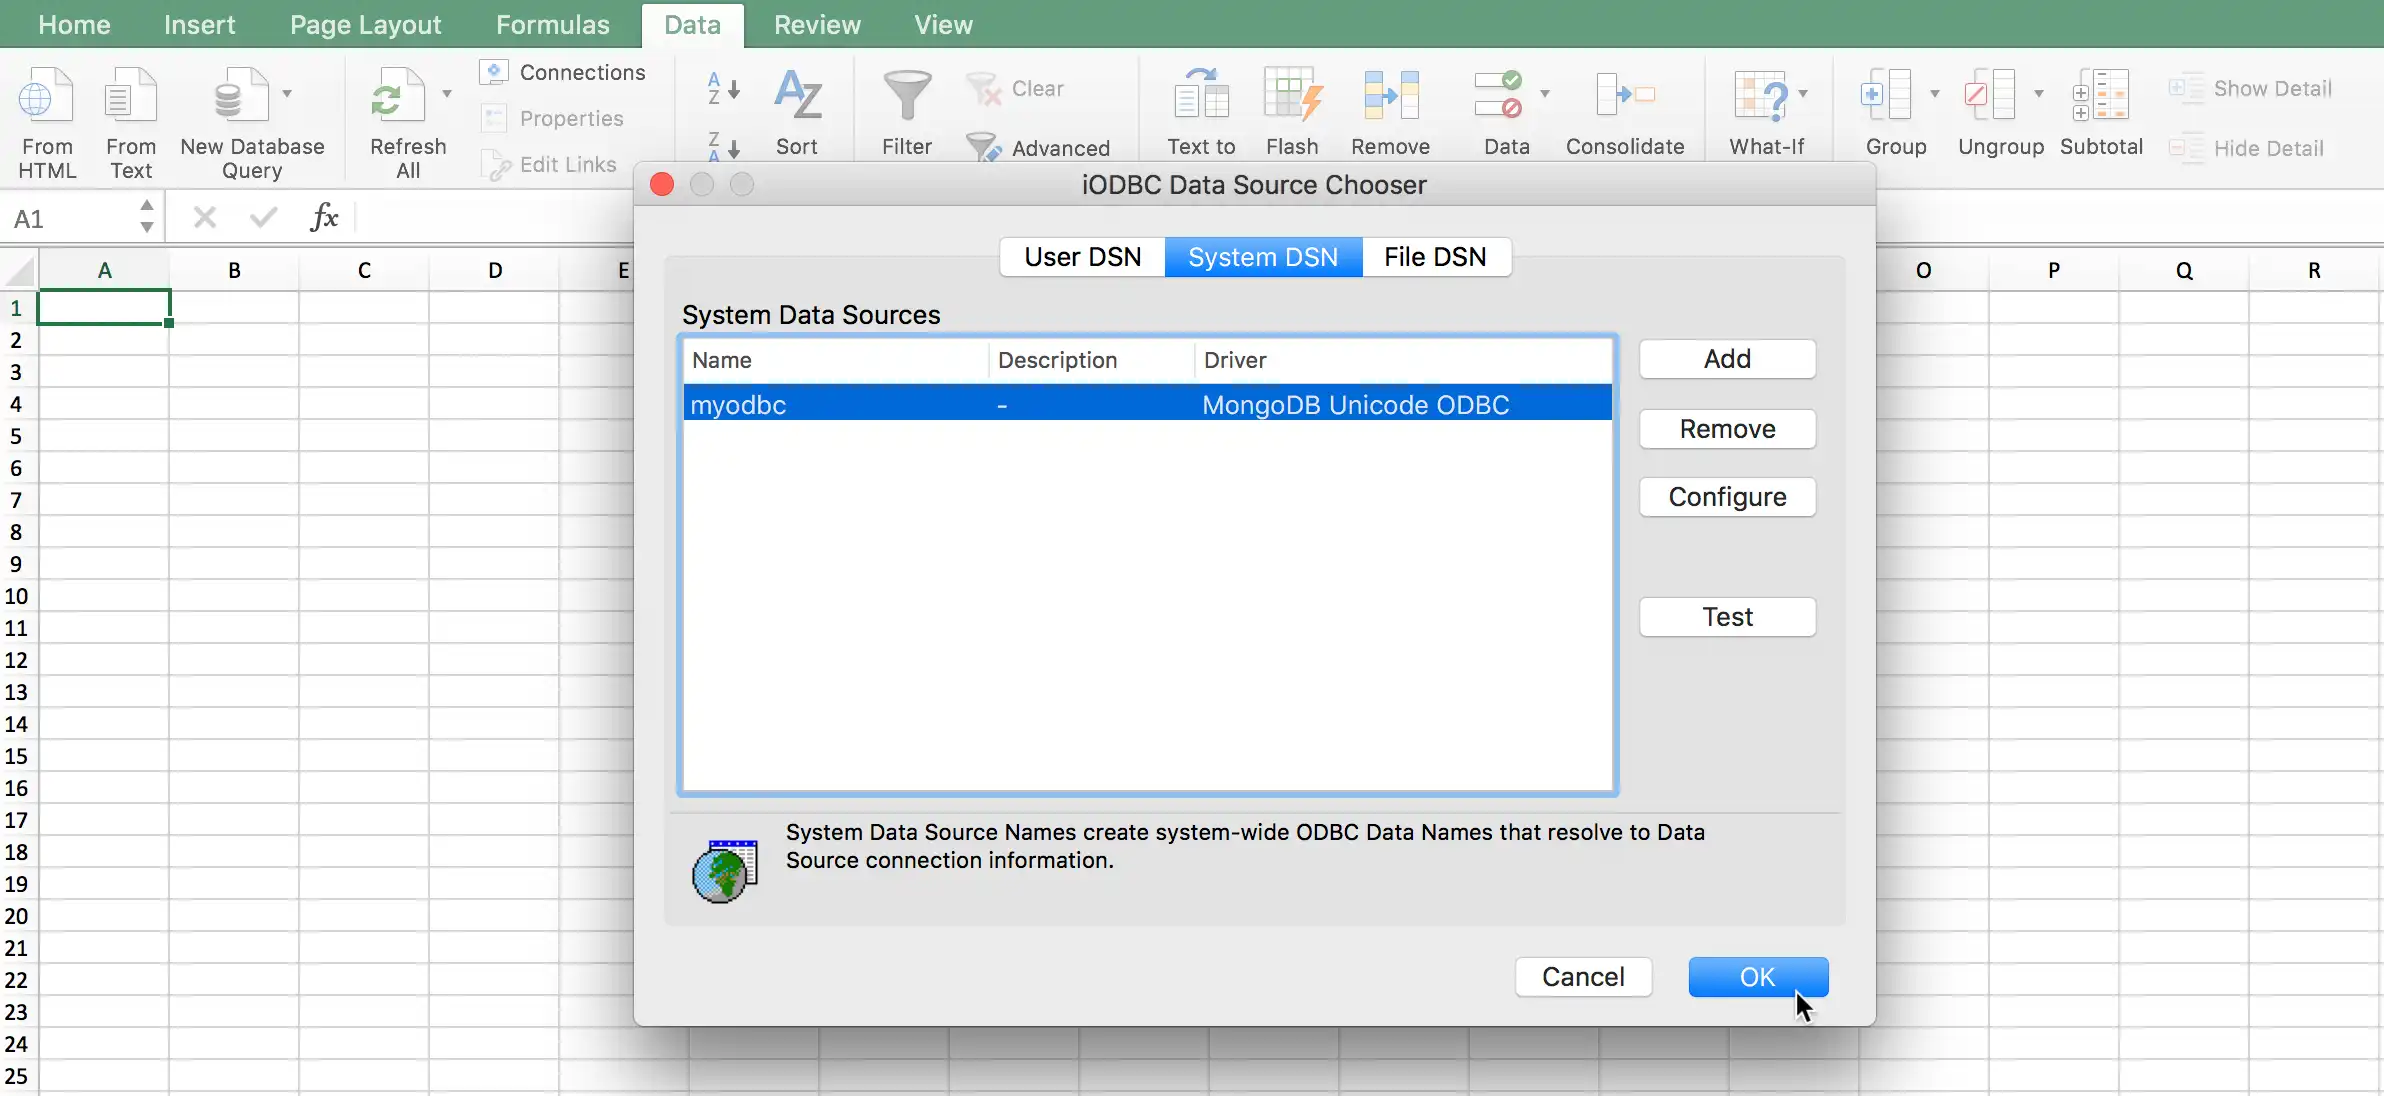
Enter Credentials
If you are running the BI Connector with authentication enabled, in the ensuing dialog enter the username and password used to connect to your BI Connector instance.
Note
When specifying a username, include the authentication
database for the user. For example, salesadmin?source=admin.
If you are not running the BI Connector with authentication enabled, leave these fields blank.
Click Ok.
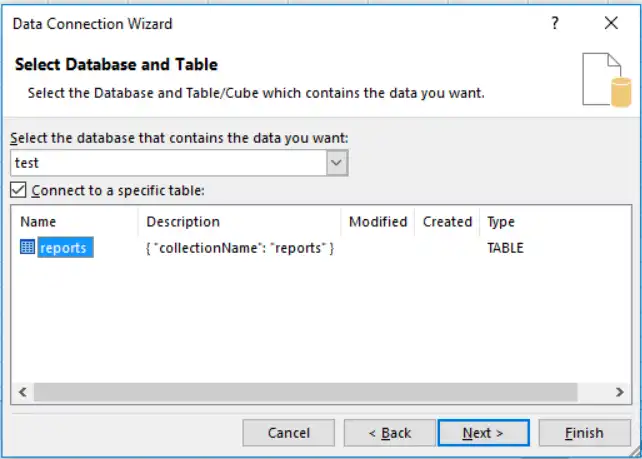
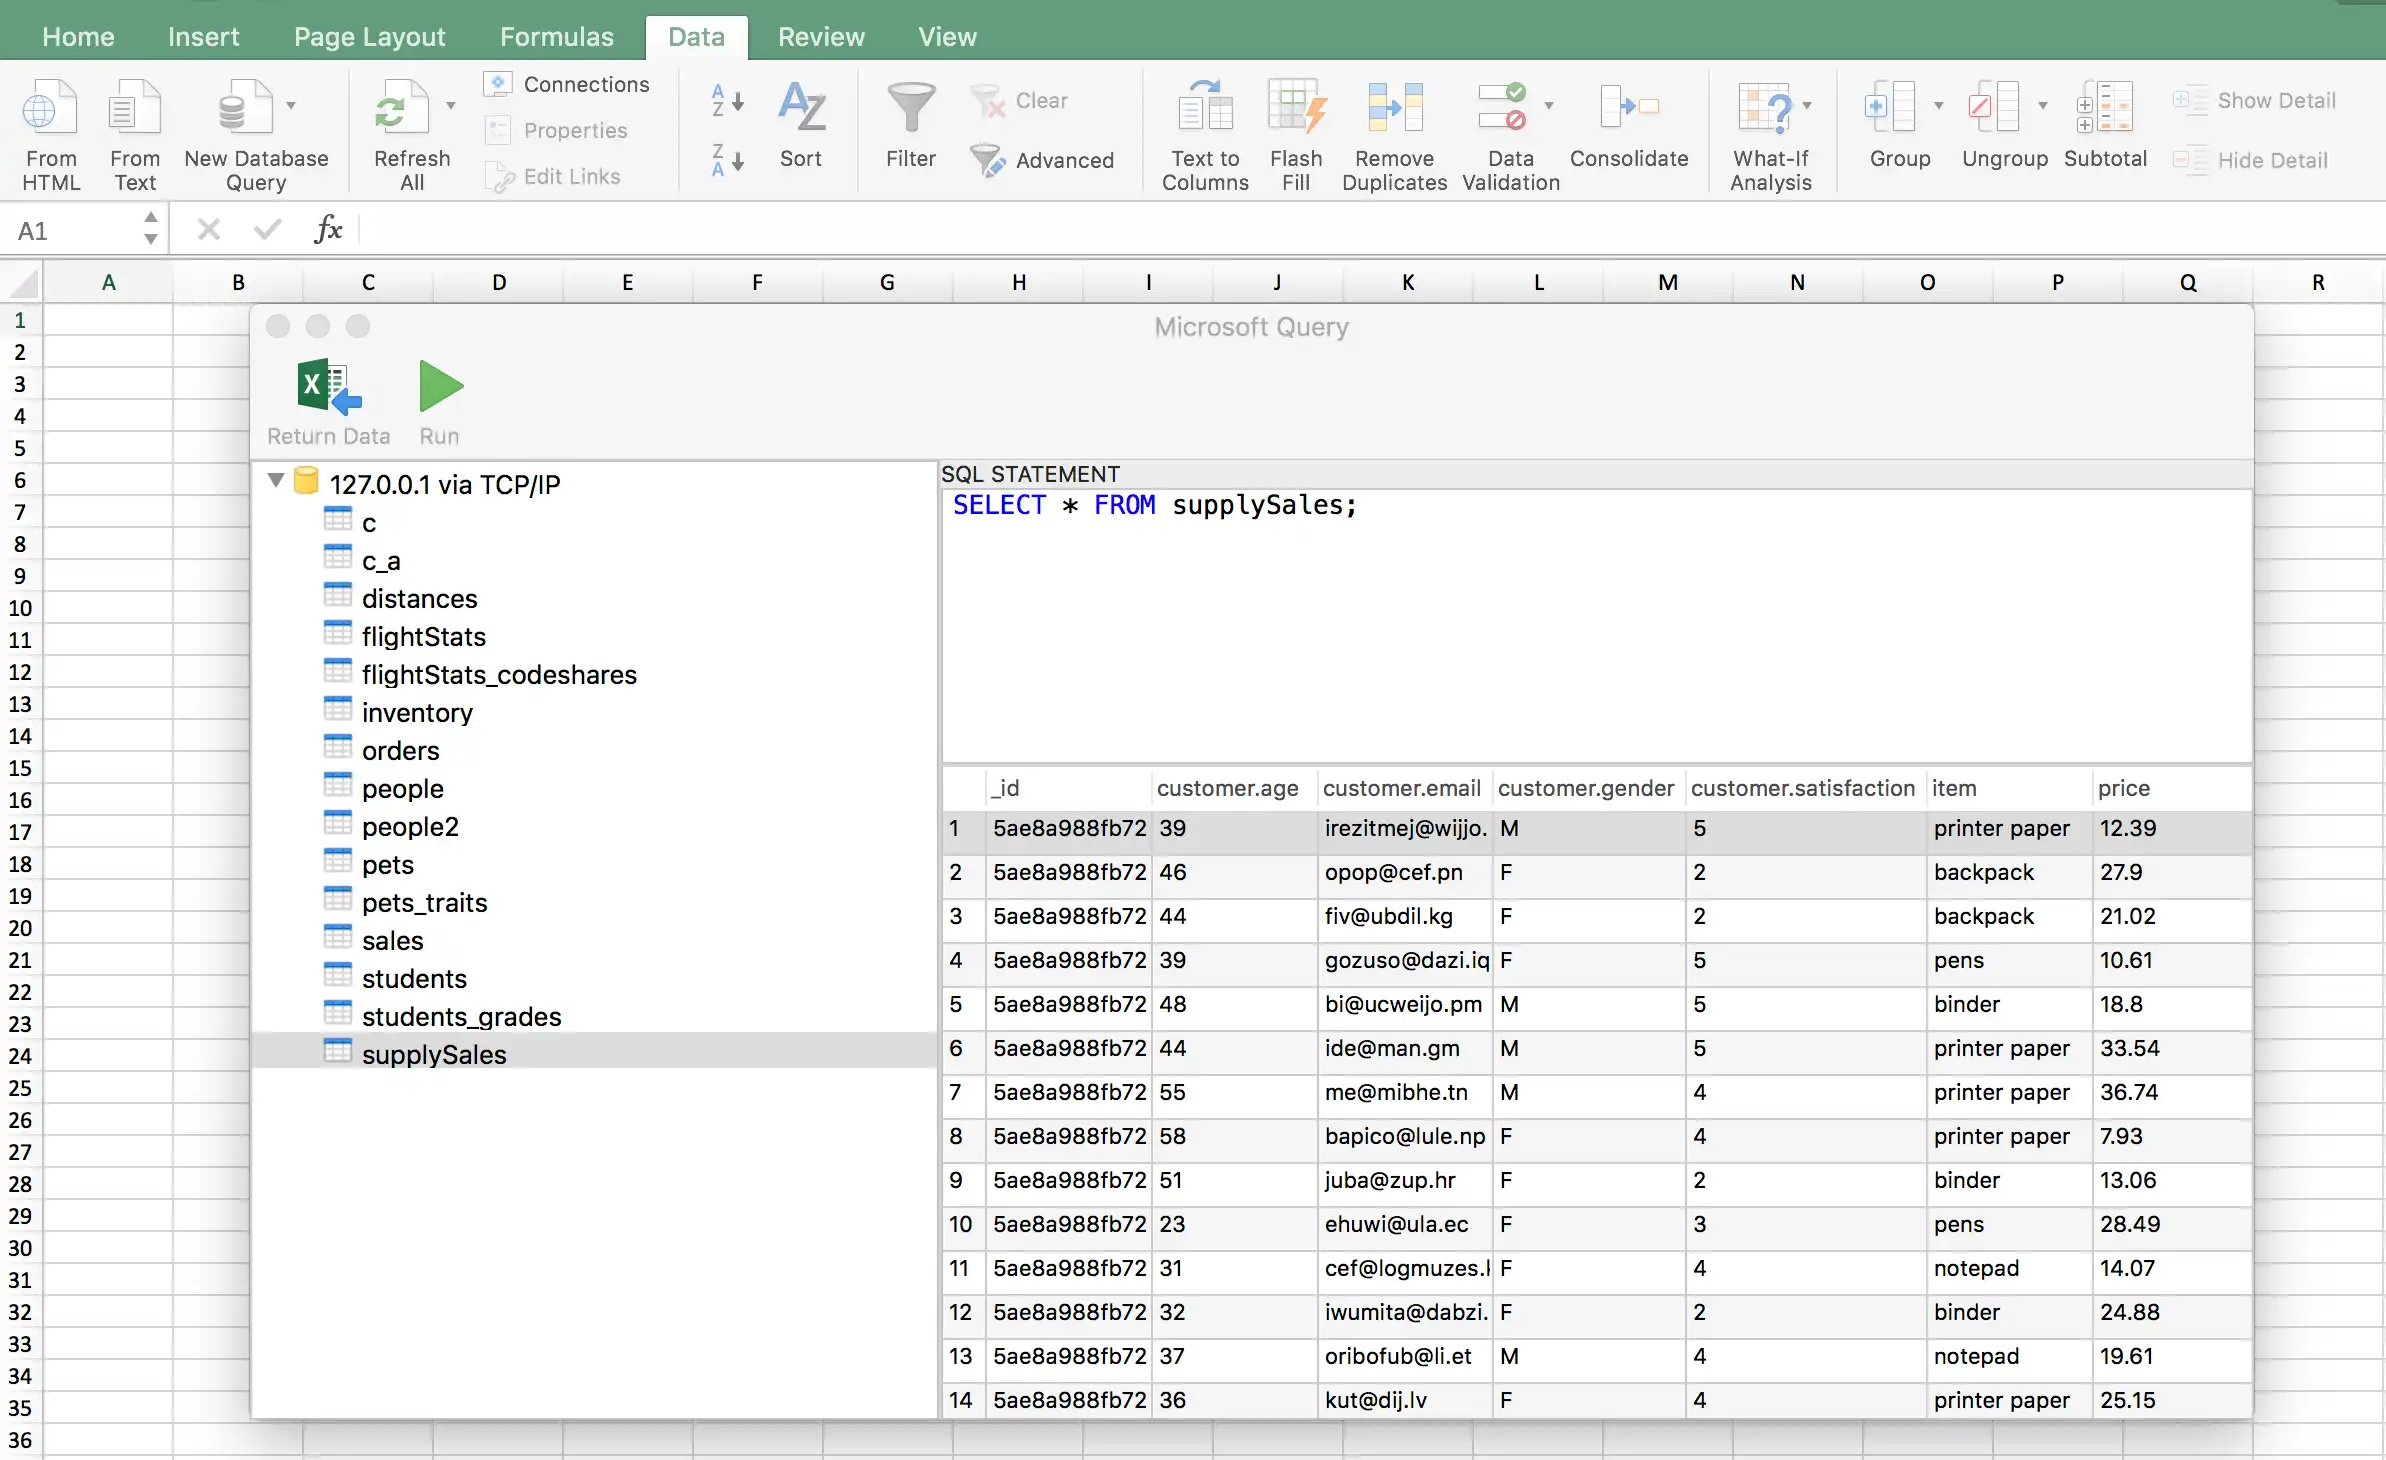
Select a Table
In the left side of the dialog, click your server name to expand the list collections in your database.
Select the collection from the list from which contains the data you want to import.
To view your data before importing, click Run to run the generated SQL statement. Your data appears in the table below the statement.
Click Return Data.

Import the Data
Select how you would like to import the data into Excel.
You can choose to import the data into:
An Existing Sheet, specifying in which cell to begin the table.
A New Sheet, automatically beginning the table in cell
A1.A PivotTable in a new sheet.
Click OK to complete the import process.
Example
The following image shows the results of importing data from
the supplySales table into a new sheet:

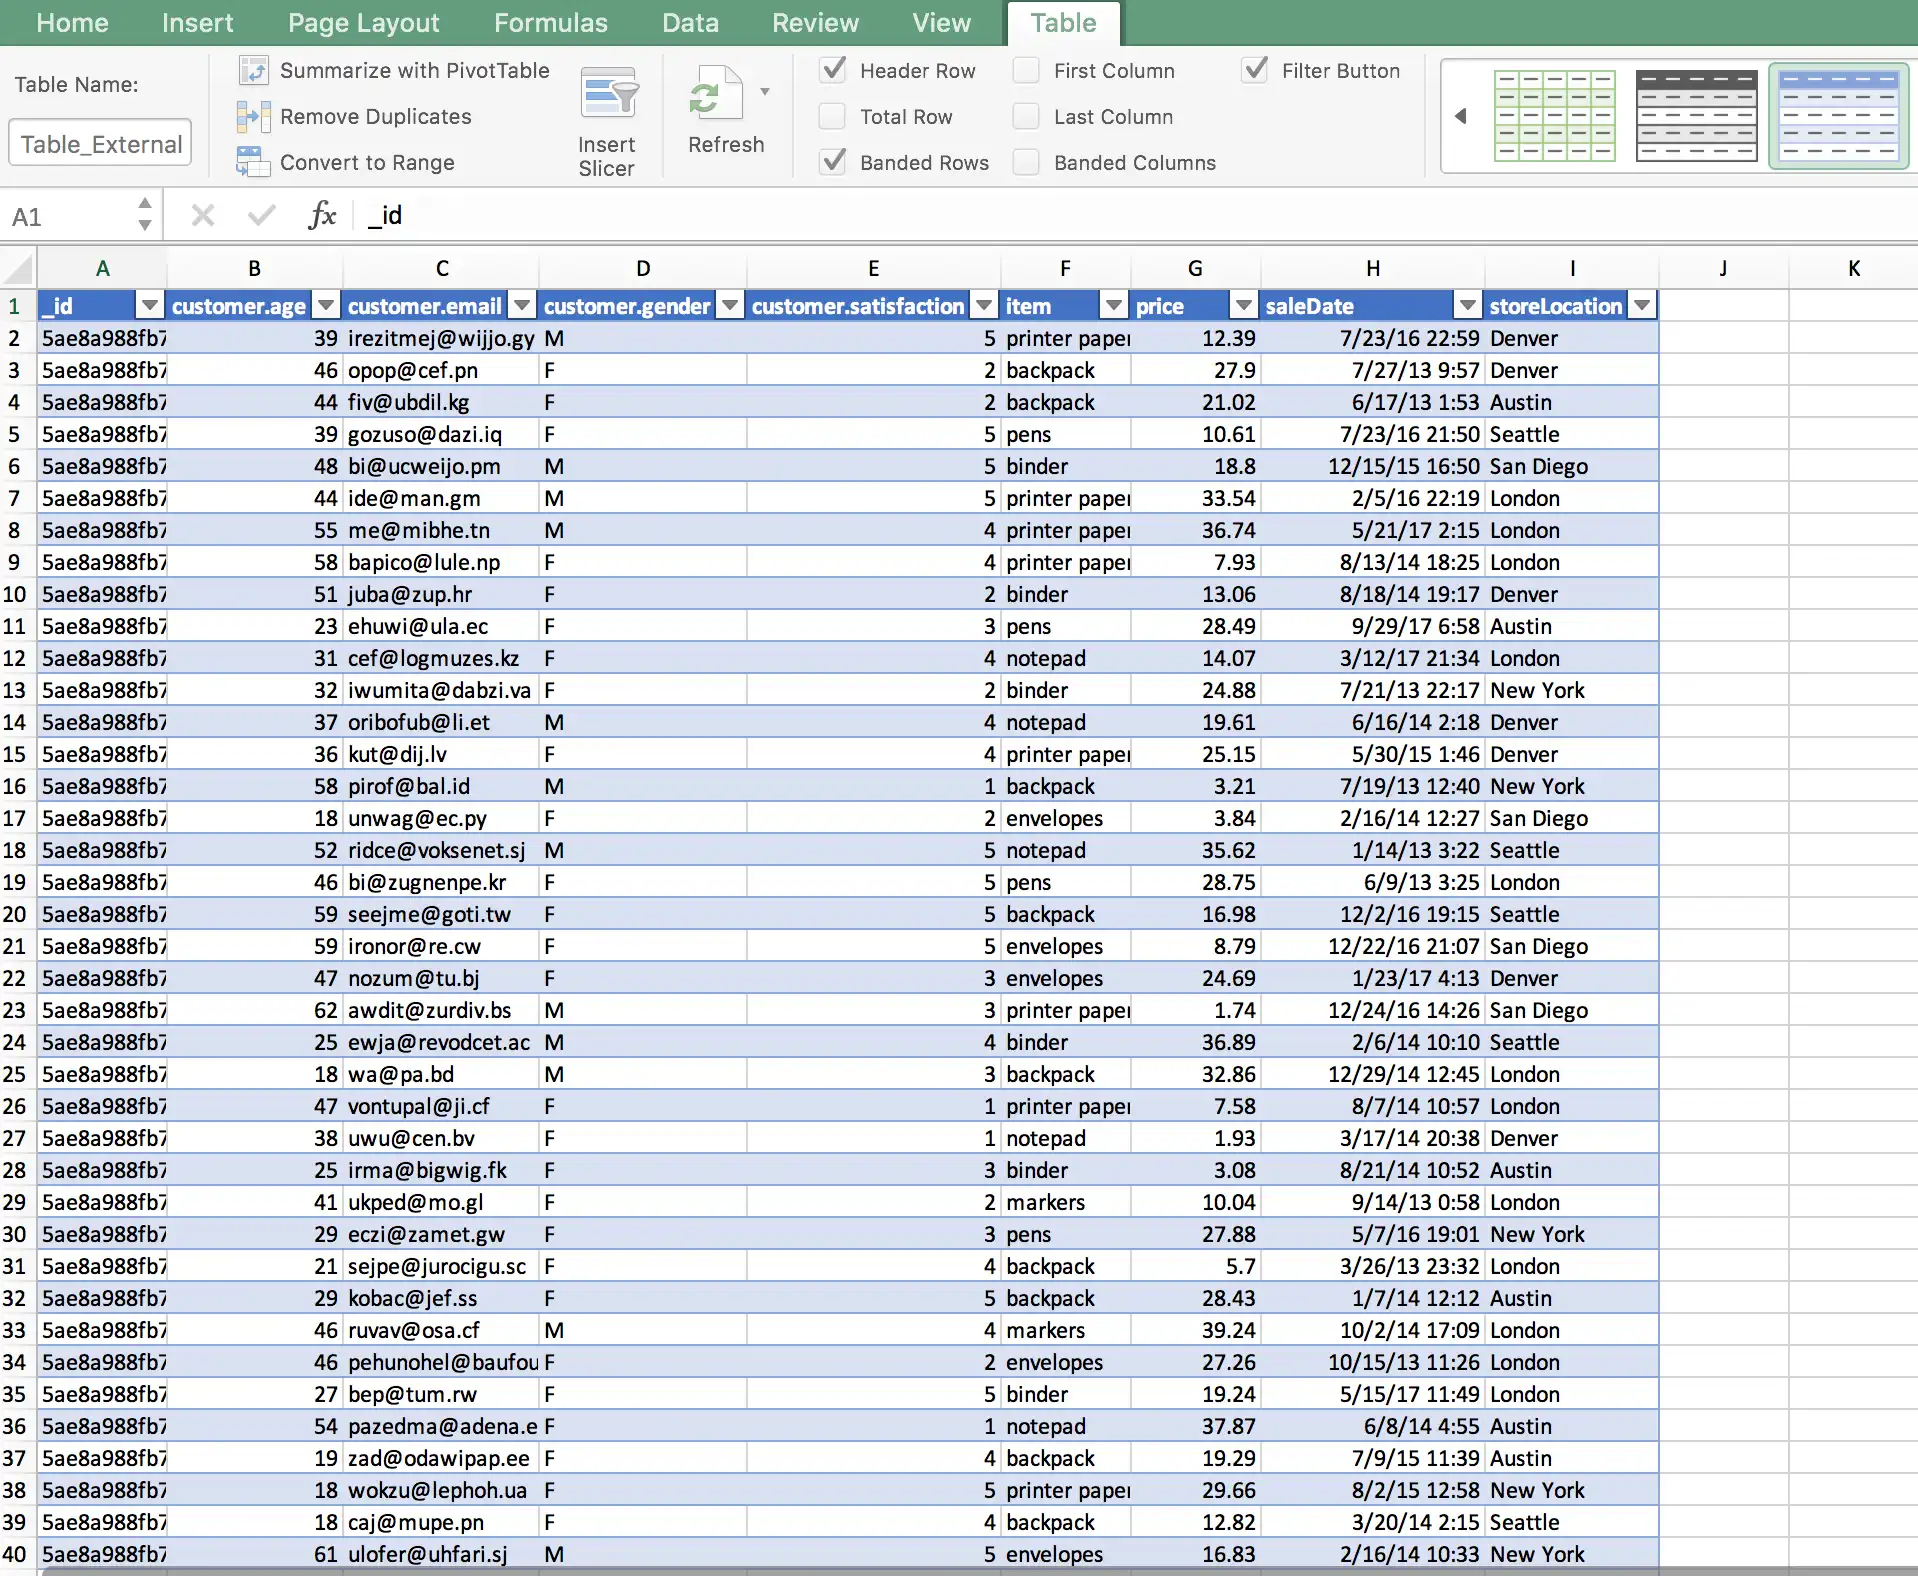
Note
Excel for Mac may not properly display special characters, such as letters with accent marks.